Delivering Effective Video Feedback

Video feedback is the process of delivering feedback that is captured and delivered to the student in a video format. There are three formats of video feedback available to markers in higher education:
screencast, combination screencast, and talking head. (Mahoney et al., 2019).
- Screencast: a screencast is a recording that includes what is shown on the computer screen e.g. the assignment, with a voiceover narration from the marker.
- Combination screencast: same as a screencast but including accompanying written feedback.
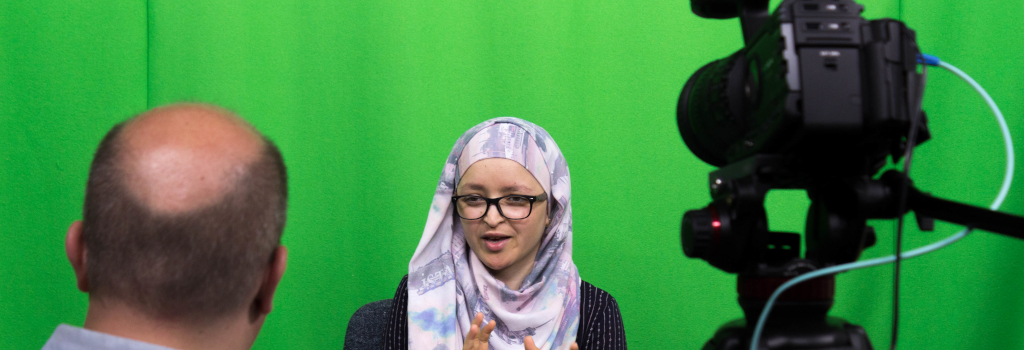
- Talking head: a talking head is simply a webcam recording of the academic giving the feedback talking directly to camera.
Students like video feedback for the following reasons:
- Feels more personalised
- Tone of voice and emphasis is clear
- Helps students understand what are the key areas that need to be addressed
- Students consider that the video format affords a clearer understanding of marker comments and helps avoid misinterpretations
- Improved clarity and ease of understanding
As Nicol (2013) observes, changes to feedback that result in improved student perceptions do not necessarily translate to improved student learning outcomes. Nevertheless, students still express a preference for video feedback.
Students like video feedback for the personal feel and the clarity of the message.
There is a preference for the combination screencast where students can see their work on screen and receive typed feedback on their assignment.
The easiest way to do this is using a webcam or laptop camera and some basic software you already have:
- A talking head can be recorded using built-in camera or video recording software (which may differ depending on the computer and operating system you are using).
- You can use the PowerPoint ScreenRecording option (on the Insert menu) to record your screen with a recorded voice-over. This can be embedded in a PowerPoint presentation or exported as a video file.
- You can use the university’s lecture capture system Encore to record the video feedback. This can then be attached as feedback via Learn Ultra.
It’s still an emerging area and the study by Mahoney and colleagues (2019) is one of only a few studies that has looked at the effectiveness of video feedback in HE, so its effectiveness is relatively unknown.
Best Practice Tips
- Try it, students like it!
- Don’t worry too much about quality or editing. The main thing is that students can clearly see what you’re referring to.
- Keep individual feedback videos short, around 2-3 minutes, which will mean that they are not unmanageable to produce and will keep students engaged.
- Rather than repeating similar feedback for each student, consider making a longer feedback video that covers common issues.
- Keep file sizes low by recording videos at the lowest resolution possible.
- When you’re recording yourself, don’t sit with your back to a window as you’ll likely appear in silhouette. Instead face the window if possible.
- Ensure your computer has a microphone built in, or if not try and get a microphone you can use. Most modern laptops will have a webcam and microphone built in, but do check.
- Consider recording your screen so students can see what you’re referring to as you talk through their feedback. You can annotate a student’s work as well as delivering the video feedback, this way, when students refer to their papers they can clearly match your video feedback to the printed/written comments.
- Type feedback, as opposed to handwriting on the document. Having text in a digital format is far more accessible e.g. can be easily read, used by screen readers, and translated into different languages.
- Consider accessibility requirements. Do you have a student for whom video feedback may be problematic? If so, you could caption the video, but providing typed feedback on the document may be sufficient.
Further Reading
